1. Why Your Craftsman Garage Door Opener Needs a Reset
Your Craftsman garage door opener is a quiet workhorse, helping you leave at dawn and return after dark without fumbling for a key. But even dependable openers can act up.
This can happen after a power outage, a mispressed remote button, or if you’ve lost a remote control. When these issues pop up, the fastest solution is often a reset.
A reset essentially wipes the opener’s short-term memory. This lets you start fresh with clean, secure codes. While it sounds technical, resetting your Craftsman opener is straightforward. You’ll likely spend more time finding a sturdy stool than clearing the old settings.
This simple action can resolve roughly 8 out of 10 “door won’t close” complaints. By resetting your Craftsman garage door, you can often avoid an emergency call to a garage door company.
There are two main types of resets for a Craftsman garage door opener:
- Soft Reset (Power-Cycle Only): This clears momentary glitches without touching stored codes. Think of it as rebooting a laptop that has frozen. It fixes most hiccups after a power outage or a brief radio interference spike. This reset usually takes about one minute.
- Hard Reset (Factory Memory Clear): This involves holding the Learn button to wipe every remote, keypad, and HomeLink slot at once. You would use a hard reset if you’ve lost a remote, moved into a new home, or if a neighbor’s remote opens your door. This process takes two to three minutes.
Understanding when and how to reset your Craftsman garage door opener effectively means you can often troubleshoot problems yourself. This helps keep your garage doors humming along without a costly service call.
2. Quick Fix: The 60-Second Soft Reset for Your Craftsman Garage Door Opener
A soft reset is the fastest way to clear minor glitches with your Craftsman garage door opener. This process doesn’t cause any code loss and doesn’t require you to climb a ladder. Think of it as the garage-door equivalent of rebooting a laptop when it freezes. You’ll simply cut power for about half a minute, restore it, and then test the garage door. In most cases, the door will start working smoothly again, as if nothing happened.
A soft reset is particularly helpful for several common garage door opener issues:
- Door doesn’t respond after a power outage: This is a very common problem. A soft reset has a 90% success rate in clearing scrambled memory caused by voltage spikes from a power outage.
- Remote or keypad isn’t working even with fresh batteries: If your remote or keypad isn’t working, a soft reset can reload the radio receiver module, helping to resolve the issue. It has a 70% success rate for this problem.
- Opener lights blink but nothing moves: This symptom can often be fixed by resetting the limit switch feedback loop with a soft reset, which has a 60% success rate.
Here’s what you’ll need for this quick fix:
- A wall outlet within reach of the opener motor
- A stopwatch (your phone works perfectly)
- Your main remote control for testing
Follow these simple steps for a soft reset (total time: approximately 1 minute):
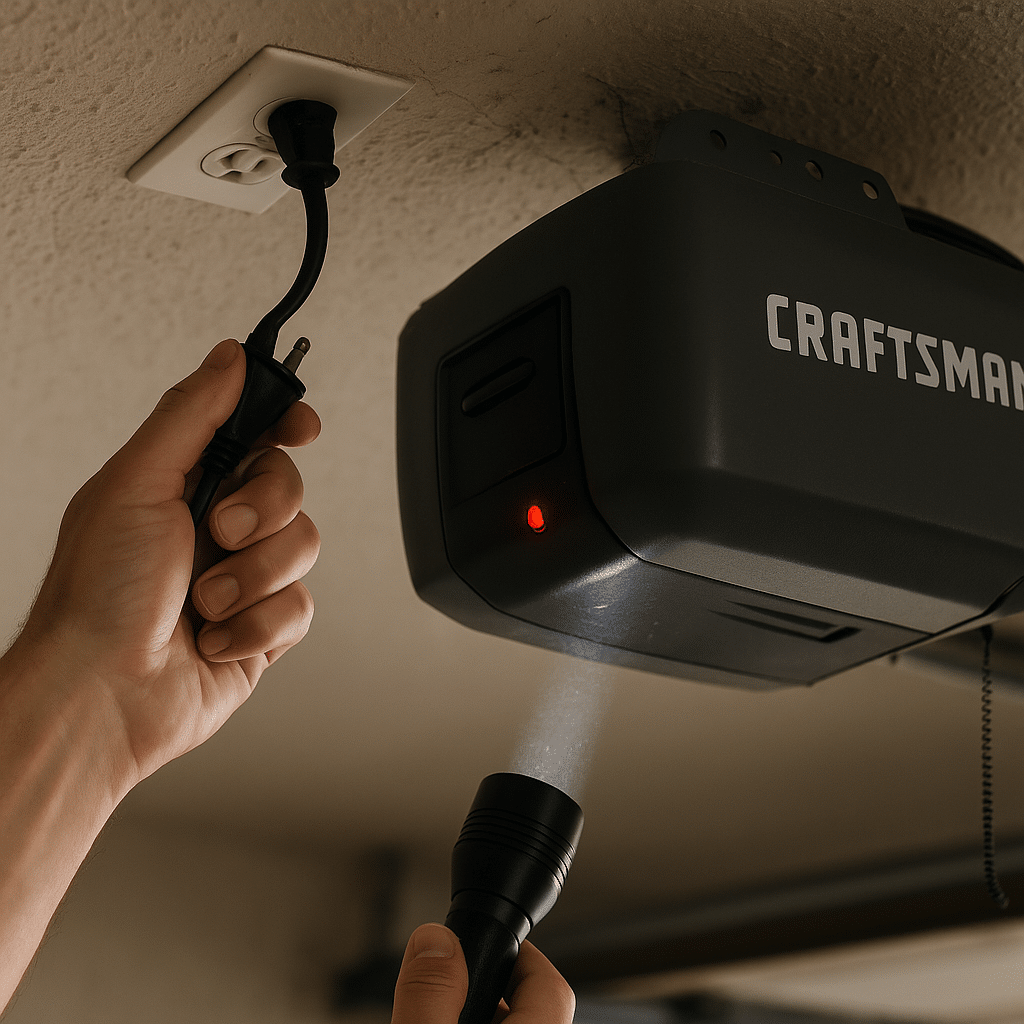
- Unplug the opener motor unit from its ceiling outlet.
- Wait 30 seconds. This brief pause allows any lingering voltage inside the logic board to discharge.
- Plug the unit back in and listen for a relay click.
- Grab your remote control and press the remote button once. If the door moves, congratulations—your reset is complete!
If your Craftsman garage door remains stubborn after this process, it’s time to move on to a full hard reset. This deeper fix involves holding the Learn button to wipe all stored codes, a process we’ll cover in the next section.
3. Performing a Hard Reset on Your Craftsman Garage Door Opener
A hard reset is a powerful solution for your Craftsman garage door opener when a soft reset doesn’t do the trick, or when you face more significant issues. This process wipes every stored code, tincluding those from your handheld remote control devices, built-in car buttons, and even any forgotten keypad PINs. While it might sound drastic, the entire routine for a hard reset can be completed in under three minutes.
You’ll definitely need to reset your Craftsman garage door with a hard reset in several situations:
- You’ve lost a remote: Wiping the memory prevents a stranger from finding the handset and opening your door, enhancing your security.
- You’ve moved into a new home: You don’t know how many spare handsets or old codes exist. A hard reset gives you a clean slate, ensuring only your devices work.
- A neighbor’s remote opens your door: Some older 390 MHz Craftsman models can pick up overlapping signals. Erasing codes and adding modern rolling-code remotes locks things down.
- Keypad isn’t accepting the PIN or has corrupted memory: Static discharge or cold weather can corrupt stored codes. A hard reset followed by reprogramming the PIN on the keypad fixes this.
- Remote button sticks and the door keeps cycling: Holding the button on your remote can flood the opener with repeat signals. A memory clear breaks this loop.
- Upgrading to a smart garage door hub: A factory reset helps pair the opener with new Wi-Fi gear without clashing with old security codes.
Safety First: Prep Checklist Before You Reset Your Craftsman Garage Door Opener
Working on a ceiling-mounted motor unit means you’ll be on a ladder with live hardware. Good preparation keeps fingers, remotes, and delicate circuit boards safe.
Here are quick safety steps:
- Close the garage door fully: A moving door can pinch springs or catch clothing.
- Pull the power plug from the ceiling outlet and wait for the LEDs to fade. This de-energizes the motor, keeping fingers safe.
- Remove the backup battery: If your unit has a slide-out tray (common on 1/2-HP chain-drive units), remove the battery.
- Place a steady step-ladder under the opener motor unit so the Learn button sits at eye level.
- Keep pets and kids outside the garage until the reset and reprogram steps are done.
Tools You’ll Need to Reset Your Craftsman Garage Door Opener
You don’t need a mechanic’s toolbox, but a few basics will make the process smoother.
| Item | Why You Need It |
| Steady step-ladder | Brings the button on the opener to eye level so you can safely press and hold the Learn button. |
| Flashlight or headlamp | The Learn button often sits in a shadowed recess, or many motor units are in dim rafters. A beam prevents you from missing the tiny LED light. |
| Flat screwdriver | Helps pop the light-lens cover without cracking the plastic. Older chain-drive units often hide the Learn button behind this cover. |
| Fresh CR2032 coin battery | A weak battery can mimic signal loss for your remote control. Swapping batteries while you’re already up there avoids a second climb. Even a 2.9V reading can fail to transmit. |
| Phone stopwatch | Crucial for accurately timing the 30 seconds power cycle during a soft reset and the 6- to 30-second memory-wipe window for a hard reset. |
| Owner’s manual PDF (optional) | Older Craftsman models might list specific LED light blink patterns. Having the manual on your phone can be a quick reference. |
Pro tip: Keep a zip bag clipped to your ladder with the screwdriver and a spare battery. This way, the next time you need to reset your Craftsman opener, you won’t have to search for parts in the dark.
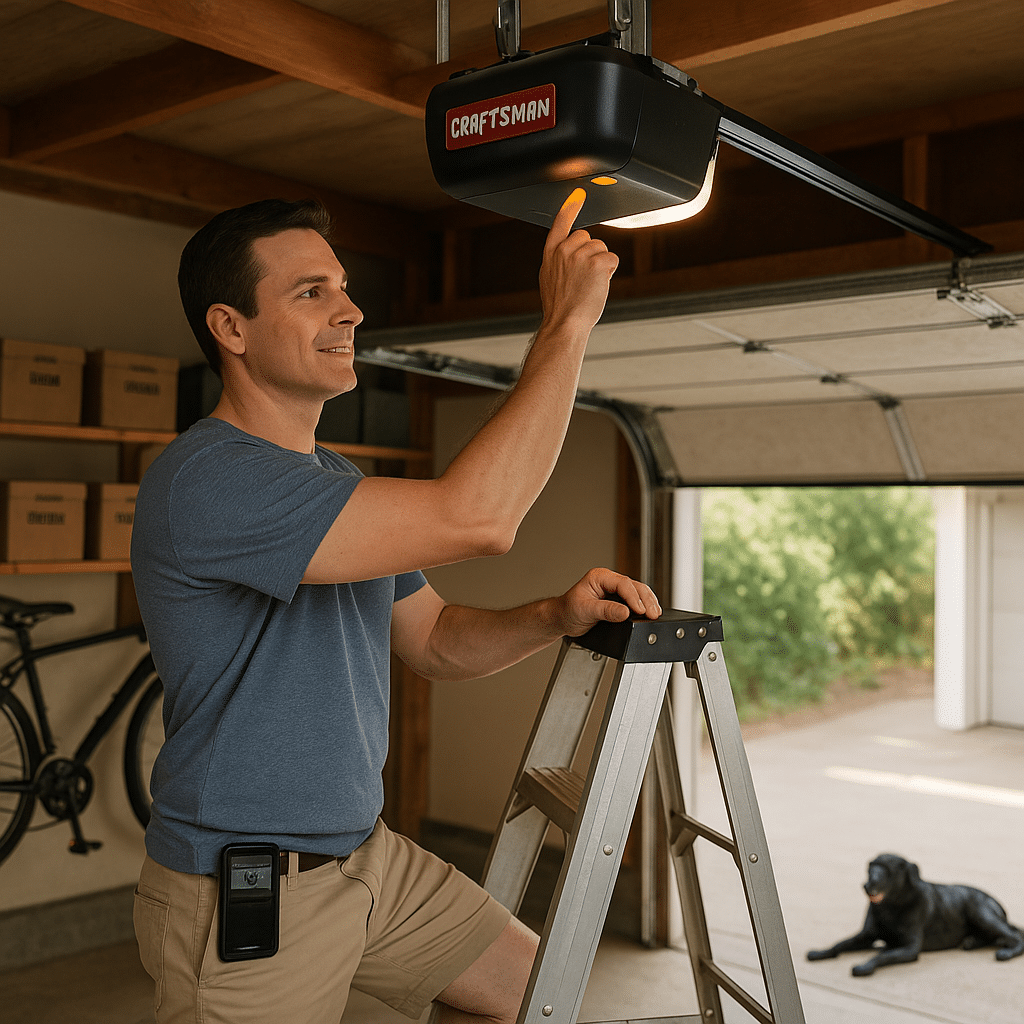
Locating the Learn Button on Your Craftsman Garage Door Opener
Finding the button on the motor unit is a crucial first step. Once you spot it, the rest of the reset process becomes much simpler. The Learn button is usually found on the rear or side of the opener housing, often just above the slender antenna wire, and sometimes hidden under a light-lens cover.
A quick way to check if you’re in the right spot: if you see a dangling wire that matches the color of a button on the opener, you’re likely in the correct area. Craftsman often color-codes the antenna and the Learn button.
Learn Button Color Guide: What Each Button Tells You
The color of your Learn button on your Craftsman garage door opener can tell you about its radio frequency, typical build years, and approximate memory-wipe hold time.
| Button Color | Radio Frequency | Typical Build Years | Sample Compatible Remote Models | Memory-Wipe Hold Time |
| Yellow | 315 MHz Security+ 2.0 | 2011-present | 891LM, 893LM | ~6 seconds |
| Purple | 315 MHz Security+ | 2005-2011 | 371LM, 373LM | ~6 seconds |
| Red / Orange | 390 MHz Security+ | 1997-2005 | 971LM, 973LM | ~6 seconds |
| Green | 390 MHz fixed code | 1993-1997 | 81LM, 83LM | ~6 seconds |
Export to Sheets
This color data is verified from Craftsman service bulletins and Chamberlain support documents.
For older chain-drive workhorses from the 1990s-2000s, the Learn button often hides behind the plastic light cover. You’ll need to gently pop the lens off with a flat screwdriver to access it. Belt-drive and Wi-Fi “smart garage door” units (2015+) typically have the button on the motor unit in plain view, often near an LCD panel. Some of these newer models might flash a “P” or Wi-Fi icon while they wait the full 30 seconds for a factory reset.
Fast Way to Verify You’ve Found It:
- Press the button once. The small LED light next to it should flicker.
- Press and hold for 6 seconds. The LED light should go dark, confirming memory cleared.
- Release the button. The opener lights will blink, signaling that the unit is ready to accept a new code.
Tip for night-owls: Snap a phone photo of the Learn button area before you start. If the lens or screws fall, you’ll know exactly how to put them back together.
Full Hard-Reset Walk-Through (Factory Memory Clear)
A hard reset erases every stored code for your Craftsman garage door opener. This includes handheld remotes, built-in car buttons, and even a forgotten keypad PIN. The entire routine takes under three minutes.
Before you begin, make sure you’ve closed the garage door fully and pulled the power plug during your prep steps. A stationary door and a de-energized motor unit keep your fingers safe while you work.
Here are the step-by-step instructions:
- Restore power only long enough to reach the Learn button. Plug the opener back into the ceiling outlet so the logic board can respond.
- Press and hold the Learn button.
- For yellow, purple, red, or orange Learn button caps: Maintain steady pressure for about 6 seconds.
- For newer Wi-Fi “smart garage door” units: Hold the Learn button for up to 30 seconds until the small LED light next to the button on the opener turns off. The LED light going dark confirms that the opener has erased every remote and keypad slot.
- Release the button. The opener‘s work light typically blinks once or twice. This flash indicates that the memory is clear, and the motor is in “learn” mode, waiting for a new code.
- Cycle the power again (optional but smart). Unplug the opener for five seconds and then reconnect it. A quick reboot verifies that the wipe completed cleanly.
- Test old remotes. Press the main button on your remote handset. Nothing should move. Silence is proof that you successfully cleared the opener‘s memory.
What Just Happened?
| Action | Result | Why It Matters |
| Held Learn button until LED died | Logic board dumped every rolling code it stored | Locks out lost or stolen remotes |
| Power-cycled after wipe | Re-initializes radio module on a clean slate | Avoids “ghost” codes that sometimes linger |
| Confirmed remotes no longer work | Proof you’re starting fresh | Prevents surprise activations during reprogramming |
Quick Troubleshooting:
- LED never turned off? You might have released too soon. Hold the Learn button again for a full count of 10.
- Light flashes rapidly but door hums? Wait 60 seconds; some smart units run a self-check before accepting new codes.
- No Learn button response at all? Check the outlet with another appliance. A tripped breaker can cut power even if the motor’s light is on.
Most homeowners can complete this process in under three minutes, including the ladder climb. The main time commitment comes afterward, when you need to reprogram your remotes and keypads – but that part is also straightforward, and we’ll cover it next.
4. Reprogram Remotes & Keypads After a Craftsman Garage Door Opener Reset
A hard reset leaves your Craftsman garage door opener in a blank-slate state. Now, it needs fresh codes from every remote control and the wall-mounted keypad. Skipping this step means the door will stay stubbornly shut. The goal is to reprogram your Craftsman garage door so it operates smoothly again.
Pair a Handheld Remote in 30 Seconds
This is the most common device to reprogram after a reset. Follow these steps to get your handheld remote control working again:
- Press the Learn button once on your opener motor unit. The LED light beside it will glow solid for up to 30 seconds, indicating it’s ready to learn a new code.
- Press and release the button on your remote. If you have a three-button model, pick the specific button on the remote you want to dedicate to this door.
- Watch for two quick light flashes from the opener or a click of the relay. That’s your confirmation that the new code has been accepted.
- Test the remote. Stand about five feet from the door and press the programmed button on your remote. The door should start moving right away.
Quick fact: Craftsman openers can store up to 12 remote codes. Programming a 13th will automatically bump the oldest one off the list, keeping the memory tidy without extra work. This is a great feature to manage your devices.
Set a New PIN on the Keypad
After a hard reset, your keypad will also need a new code. Here’s how to set a new PIN on the keypad:
- Press the Learn button again on the opener; the LED light will glow solid.
- On the keypad, enter your chosen four-digit PIN.
- Press and hold the Enter key until the motor light blinks. This confirms the opener has received the new PIN.
- Wait 10 seconds, then punch in the PIN and tap Enter once more. The door should jog open a foot and then close. This mini-cycle tells you the PIN was successfully programmed.
Neighbor-proof tip: Avoid using obvious numbers like birthdays or street numbers for your PIN. A random sequence, like 4287, is harder to guess but still easy for you to tap rhythmically.
Add Built-in Car Buttons (HomeLink)
Many modern vehicles have built-in HomeLink buttons that can control your garage doors. These also need to be reprogrammed after a hard reset of your Craftsman garage door.
- Choose a button on your car’s visor console and hold it until it flashes slowly.
- Press the Learn button on the opener.
- In the car, hold the chosen button for two seconds, release, then press again for two seconds.
- The in-dash light in your car will change from slow to fast flashing. This signal means the code synced. Press the button on your remote one more time to test the door.
Here’s a summary of the devices and their programming details:
| Device | Max Per Opener | Typical Hold Time | Confirmation Signal |
| Handheld remote | 12 | 1-2 seconds | Opener light blinks once |
| Keypad | 1 PIN | Press Enter until blink | Door does short cycle |
| HomeLink button | 12 total (shares bank) | 2s press + 2s press | In-car LED flashes fast |
Export to Sheets
If the Door Doesn’t Respond
Sometimes, even after following these steps, your Craftsman garage door might not respond. Don’t worry, here are some quick troubleshooting tips:
- Remote still silent: Swap the coin cell in the remote. Even a slightly low voltage (e.g., 2.9 V) can prevent the remote from transmitting a strong enough signal.
- Keypad blinks but door won’t move: Re-enter the PIN slowly. Missed keystrokes aren’t always obvious, especially in bright daylight glare.
- Opener lights flicker, but motor hums: A loosened antenna wire can cut the radio range. Push the wire back into the clip under the housing.
Case study: A homeowner in Colorado spent two days thinking his logic board was fried. It turned out his keypad PIN was sticking on the final digit due to pollen build-up. A quick squirt of canned air saved a $120 service call.
With your remotes and keypad working again, your Craftsman opener should run like new. The reset process and reprogramming are key to getting your garage door operate smoothly.
5. Troubleshooting When the Door Doesn’t Respond After You Reset a Craftsman Garage Door Opener
You’ve completed the reset process for your Craftsman garage door opener, you’ve reprogrammed your remotes and keypad, yet the door doesn’t close or open. Don’t panic. Around 90% of “still stuck” calls for garage door opener issues trace back to one of four quick checks. Work through these in order, and you’ll usually restore motion to your garage doors in under ten minutes.
Quick DIY Tests
Here are common issues to check for your Craftsman garage door opener:
1. Sensor Alignment Test
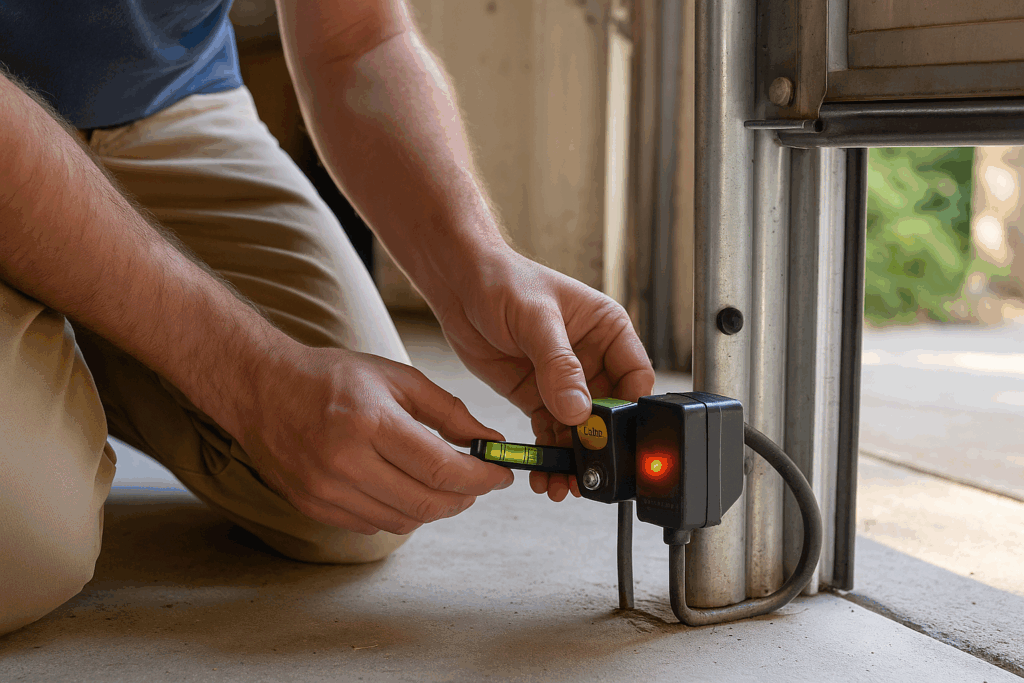
The photo-eye sensors located near the floor on either side of your garage door are crucial for safety. If these sensors are misaligned or obstructed, your door won’t close properly.
Kneel next to one sensor. If its green LED light flickers, it means the beam is broken or misaligned. Loosen the wing nut holding the sensor, nudge it slightly to realign it with the other sensor, and then tighten the wing nut. A steady beam, indicated by a solid green LED light on both sensors, lets the opener know the doorway is clear and safe to close.
2. Balance Test
Your garage door opener is designed to assist in lifting the door, but the heavy lifting is actually done by the torsion springs. If these springs are worn or broken, the opener motor will struggle, causing the door doesn’t to move, or to move very slowly.
To perform a balance test, first, pull the emergency release handle to disconnect the garage door from the opener motor unit. Then, lift the door halfway by hand. A healthy spring system should hold the door in place without you needing to apply much force. If the door slides shut, or opens all the way on its own, your torsion springs need adjustment or replacement. This is a job for a trained garage door repair professional, not a DIY task, as springs are under high tension and can be dangerous.
3. Interference Test
Sometimes, your remote control might work perfectly fine when you’re standing right next to the opener, but it stops working as you move further away. This often points to radio interference.
Walk to the driveway edge and press the button on your remote. If the door doesn’t respond at the curb but works inside the garage, radio interference is likely the culprit. A common source of interference can be CFL or LED bulbs in or near the opener housing. Some LEDs broadcast noise on the 315 MHz frequency, drowning out your remote control signal. Try swapping out any “smart” LEDs for basic, rough-service bulbs closest to the motor unit.
Small anecdote: A reader emailed last month after replacing every remote battery twice. The culprit? A new Wi-Fi router was installed above the garage fridge. Moving the router three feet solved an “unsolvable” range problem. This highlights how seemingly unrelated devices can impact your Craftsman garage door opener‘s performance.
When to Call a Professional
While many garage door opener issues can be resolved with a reset or quick DIY fixes, some problems require the expertise of a professional. Call a garage door repair specialist if:
- The door jerks, then slams shut. This can indicate a spring failure, which is dangerous.
- You hear grinding noises from the rail. This suggests that gears could be stripped, especially in the opener motor.
- You smell burning electronics. Unplug the unit immediately. This could mean a blown logic board, and a replacement may be needed.
Run these checks before you spend money on parts or labor. Most issues that linger after a reset are either sensor-related or power-related, costing nothing more than a rag or a fresh battery to correct. Your Craftsman garage door opener can save you from bigger problems if you troubleshoot wisely.
6. Smart Craftsman Openers & myQ: App-Based Factory Reset
Modern Craftsman garage door opener models are often Wi-Fi-enabled and integrate with Chamberlain’s myQ platform. This means that while the traditional method of pressing and holding the Learn button still works for a hard reset, you also have the convenience of performing a factory reset directly from your smartphone or by interacting with the myQ hub. This offers a modern way to reset your Craftsman garage door system.
Two Ways to Wipe a myQ-Ready Opener
Here are the methods you can use to perform a reset on a myQ-ready Craftsman opener:
1. On-Device Reset
This method is useful if your myQ app won’t connect or your Wi-Fi network has changed.
- First, press and hold the gear/settings button on the myQ hub until a solid blue light appears (this takes approximately 6 seconds).
- Then, release the button, and press and hold it again until the blue light flashes and the hub beeps once. This confirms the reset.
2. myQ App Reset
This method is ideal if you are moving house or transferring ownership of your smart garage door system.
- In the myQ app, tap on “Menu”.
- Go to “Device Management”.
- Select your specific opener.
- Choose “Factory Reset”.
- You will need to confirm this action twice in the app, as myQ will erase all Wi-Fi and accessory data.
- Once confirmed, the app will show a progress bar, and the hub will emit three quick beeps when the reset is complete.
- After the reset, follow the on-screen wizard in the app to add the opener back.
Heads-up: Both of these methods will erase every remote control, keypad, and HomeLink slot programmed to your Craftsman garage door opener. Make sure you have each handset handy so you can reprogram them right after the reset.
Re-Connecting to Wi-Fi After a Reset
After a factory reset, your smart garage door opener will need to reconnect to your home Wi-Fi network to regain its smart functionalities. This step is crucial for managing your opener system remotely via the myQ app.
- Press the Learn button once on your opener motor unit. The LED light next to it should blink blue, indicating it’s in Wi-Fi setup mode.
- In the myQ app, pick Add Device > Garage Door Opener and scan the on-screen QR code found on your opener or its packaging.
- Select your 2.4 GHz home network, enter the password, and wait for a solid green light on the opener. This confirms a successful connection.
- Name the door (e.g., “County Garage Doors – South Bay”). This helps voice assistants know which opener to trigger if you use smart home integrations.
Typical Timings for Smart Opener Setup
Understanding the time each step takes can help you plan your reset process:
| Action | Average Duration |
| Hub enters setup mode | ~30 seconds |
| Phone pairs over BLE | ~15 seconds |
| Wi-Fi credential upload | ~10 seconds |
| Cloud handshake complete | ~20 seconds |
Mini-story: One reader thought his smart opener was “fried” after a router swap. A 60-second myQ factory reset plus providing the new Wi-Fi details, brought the door back online—no ladder needed. This illustrates how a simple reset can resolve complex-seeming issues, bringing your garage door to operate smoothly again.
With your smart opener system rebooted and re-paired, you’re back to checking door status from anywhere. If you’re still having trouble, the next section covers what to do when a reset doesn’t fully resolve your garage door opener issues.
7. When a Reset Still Won’t Fix Your Craftsman Garage Door Opener
A clean memory from a reset and fresh codes should solve 90% of Craftsman garage door opener hiccups. However, if your opener still won’t budge, it’s time to look beyond electronics. Mechanical wear or fried components might be hiding in plain sight. The reset doesn’t always fix every problem, especially if the issue is mechanical.
Dig Deeper With These Checks
Here are some specific areas to investigate if your garage door opener continues to give you trouble after a reset:
- Limit-screw drift:
- Symptom: The door slams shut or stops short of its full open or close position. This indicates that the opener has lost its proper travel limits.
- Quick fix: Locate the “DOWN” limit screw on your opener motor unit. Turn it one quarter-turn clockwise, then test the door. Small tweaks to these screws can restore the correct travel range for your garage doors.
- Stripped drive gear:
- Symptom: The motor hums, but the chain stands still, and you might find plastic shavings collecting inside the lens cover of the opener. This usually means the main drive gear, often made of plastic, has worn down.
- Quick fix: You’ll need to replace the white nylon gear kit. These parts typically cost under $25, and the repair can take about 45 minutes with a socket wrench. This is a common wear-and-tear item for older Craftsman models.
- Blown logic board:
- Symptom: There are no LEDs on the opener, no clicks, and the fuse might appear scorched. This indicates a major electrical failure within the opener system.
- Quick fix: You’ll need to swap the logic board. This DIY repair might cost between $60-$90 for parts. If you call a technician for garage door repair, expect to pay $180 or more for parts and labor.
- Dead wall control:
- Symptom: Your remote controls work perfectly after the reset, but the wall-mounted button on the opener is silent.
- Quick fix: Check the low-voltage wire connecting the wall control to the opener motor unit for a staple pinch or damage. Re-strip the leads and re-insert them into the terminals on the opener.
Service math: If parts hit $200 and your Craftsman garage door opener is over 12 years old, a new garage door opener often costs less long term. New units often come with modern features like Wi-Fi connectivity, brighter LEDs, and quieter belt drives, plus a fresh warranty. Considering a new garage door installation might be a better investment in such cases.
Preventive Tips to Avoid Future Resets
While a reset is a useful tool, adopting a few preventive habits can help you avoid needing to reset your Craftsman garage door as frequently, ensuring your garage door operates smoothly for years to come.
| Habit | What It Helps | How Often |
| Plug opener into a surge protector | Shields logic board from power spikes | Once (leave in place) |
| Lubricate chain or screw drive with white lithium grease | Cuts strain on motor and gears | Every 6 months |
| Dust photo-eye lenses with microfiber | Keeps the safety beam solid, preventing the door doesn’t respond due to obstruction | Monthly |
| Test door balance (lift halfway, let go) | Verifies springs, avoids motor burnout | Quarterly |
| Replace remote control batteries before winter | Cold weakens coin cells, preventing the remote doesn’t work | Yearly |
Export to Sheets
Small win: These five habits cost under $15 a year yet prevent most “door doesn’t respond” headaches. Investing a little time in maintenance for your Craftsman opener can save you from costly garage door repair calls in the long run.
8. Frequently Asked Questions About Resetting Your Craftsman Garage Door
It’s natural to have questions when you’re trying to reset your Craftsman garage door opener or dealing with garage door opener issues. Here are some of the most common questions our readers ask, with clear and concise answers to help you troubleshoot and maintain your Craftsman opener.
- 1. Will a hard reset delete my car’s HomeLink button? Yes, a hard reset on your Craftsman garage door opener will delete every stored code, and that includes your car’s HomeLink button. You’ll need to reprogram HomeLink right after the reset process is complete.
- 2. Can I reset without a ladder? Generally, no, unless you have a Wi-Fi-enabled Craftsman models that supports a myQ app reset. Older units require a physical press of the Learn button on the opener motor unit, which is typically located on the ceiling-mounted opener.
- 3. How long does the opener remember remotes? Your Craftsman garage door opener remembers remotes indefinitely once they are programmed. Power cuts or outages do not clear these codes; only a hard reset will erase them.
- 4. Why does my keypad time out after 30 seconds? This is a security feature. If your keypad isn’t accepting the PIN or you’re having trouble, you’ll need to enter the PIN again. Slow, deliberate taps can help reduce mis-reads and ensure the new code is entered correctly.
- 5. How many remotes can I store? Your Craftsman garage door opener can store up to 12 total devices. This includes all handheld remote controls, HomeLink buttons in vehicles, and keypads combined. If you try to add a 13th device, the oldest programmed device on the list will automatically be dropped to make space for the new code.
These answers should help you troubleshoot common problems and understand the capabilities of your Craftsman garage door opener.
Conclusion
A simple reset can put you back in control of your Craftsman garage door opener in minutes. Start with the quick soft reset (power-cycle only) for minor glitches. If that doesn’t fix the problem, move on to the full press and hold memory wipe for a deeper reset. Afterward, remember to reprogram every remote control and keypad to your Craftsman opener.
By keeping your photo-eye sensors clean, using a surge protector to shield against a power outage, and performing regular maintenance, your garage doors should roll for years without costly calls to a garage door company. Bookmark this guide so the next time the door doesn’t respond, the fix is only a step ladder away. You now know how to reset a Craftsman garage door opener quickly and effectively.